How to install and Set Up Money Manager
I have been using Money Manager for quite some time now. I can say that it’s a great and useful free app on Android. You may check my review here.
Below are the essential installation and setup steps in order to get started with the Money Manager. There are a lot more but you will discover them as you continue tracking your budget and expenses.
Installing Money Manager
Installation steps:
- Open Play Store.
- Search for Money Manager.
- In the list of apps displayed, select Money Manager Expense & Budget by Realbyte Inc.
- Tap on Install.
- Select the Allow button on the message: “Allow Money Manager to access photos, media and files on your device? (Deny, Allow)”.

Once opened, Trans menu > Daily tab will be displayed. Of course, the tab has no entries right now.

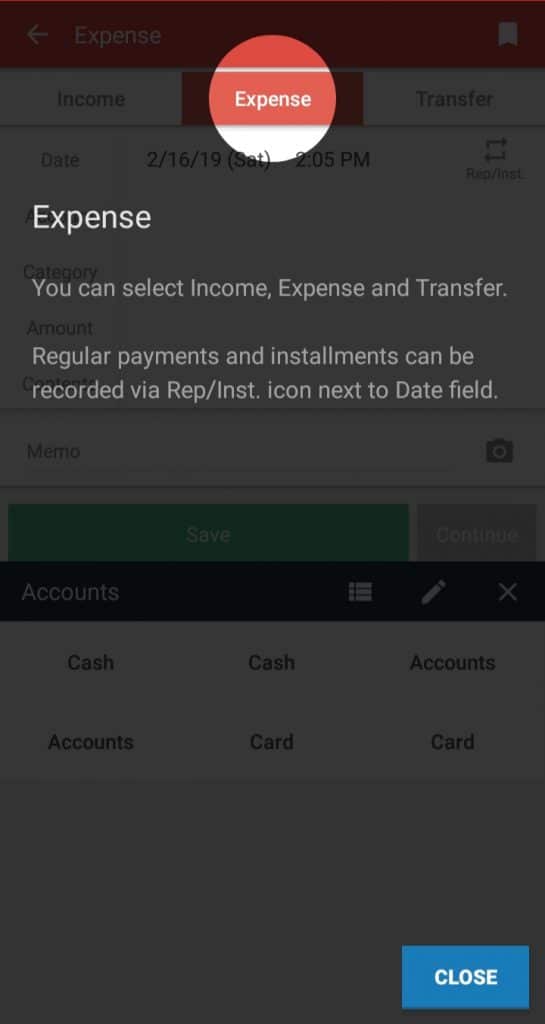
As you are a beginner in this app, tips will display from time to time. See the image below:
How to add or edit an Account Group
Steps in adding an Account Group:
- Select the Settings menu.
- Select Account. This will open the Accounts screen.
- Select the Account Group. This will display the default account groups such as Cash, Accounts, Card, etc.
- To add an account, tap on the + sign on the upper-right corner of the screen.
- Enter the name of the account, then Save
- You can also opt to just edit an existing account. Tap it, enter the new name then save.
Accounts screen (Step 2):

Account Group screen (Step 3):

Add Account Group screen (Step 4):

How to add or edit an Income category
Steps in adding or editing an Income category:
- Select the Settings menu.
- Select Configuration.
- Select Income Category Management. Change Income Category screen will display. This will show default categories such as Salary, Petty cash, bonus, etc.
- Tap on the + sign on the upper-right corner of the screen.
- Enter the Income Category name (e.g. Crowdfunding).
- Save.
- You can also opt to just edit an existing category. Tap it, enter the new name then save.
Configuration screen (Step 2):

Change Income Category screen (Step 3):

Add Change Income Category screen. ‘Crowdfunding’ as an example. (Step 5):

‘Crowdfunding is added in the list of Income categories:

How to add or edit an Expense category
- Select the Settings menu.
- Select Configuration.
- Select Expenses Category Management. Expenses Category screen will display. This will show default categories such as Food, Social Life, Household, etc.
- Tap on the + sign on the upper-right corner of the screen.
- Enter the Expense Category name
- Save.
- You can also opt to just edit an existing category. Tap it, enter the new name then save.
Expenses Category screen:

Add Expenses Category screen:

How to add or edit an Income/ Expense subcategory
Steps in adding or editing an Income/ Expense subcategory:
- Select the Settings menu.
- Select Configuration.
- Select Income Category Management.
- In Change Income Category screen, slide Subcategory toggle button to open.
- Select a category where you want to add a subcategory
- Tap on the + sign on the upper-right corner of the screen.
- Enter the Income Subcategory name.
- Save.
- You can also opt to just edit an existing subcategory. Tap it, enter the new name then save.
How to add or edit your passcode
Steps in adding and activating your passcode:
- Select the Settings menu.
- Select Passcode.
- If this is the first time that you will enter the passcode or the feature was previously turned off, Set Passcode screen will display.
- In Enter your passcode field, type your 4-digit passcode.
- Next, the Re-enter your passcode interface will display.
- Re-enter the same passcode. This will display again the Settings screen
- In the Settings screen, Passcode icon displays as locked
Steps in deactivating/ turning off your passcode:
- Select the Settings menu.
- Select Passcode.
- Turn off Passcode screen will display.
- In Enter your passcode field, type your 4-digit passcode. This will display again the Settings screen.
- In the Settings screen, Passcode icon displays as unlocked.


1 Response
[…] Tracking your expenses is not an easy task and it looks like a tedious task at first. However, when it is done on a daily basis, this will become a habit and will be just a walk in the park. The best way to track your expenses is to use a budget and expenses tracking app like Money Manager. You may also check this post for setting up Money Manager: How to install and Set Up Money Manager […]