How to Add Transactions in Money Manager
Money Manager is a great app for tracking budget and expenses for a certain period of time. It’s also a great tool for checking financial leaks in our expenses. This will help us spend our money wisely up to the last coin and only on important things. If you don’t have yet Money Manager as your budget tracking app and you want to know its looks or main features, you may check Money Manager review.
Adding transactions is an essential process in using Money Manager. At first, it is somewhat cumbersome and boring. The chances of forgetting to add a transaction – purchase in a store for example – is very likely. However, as you do it every day, it becomes a habit and will just become like a walk in the park.
How to add an expense in Money Manager
Steps in adding an expense:
1. Open Money Manager. Enter your passcode if required.

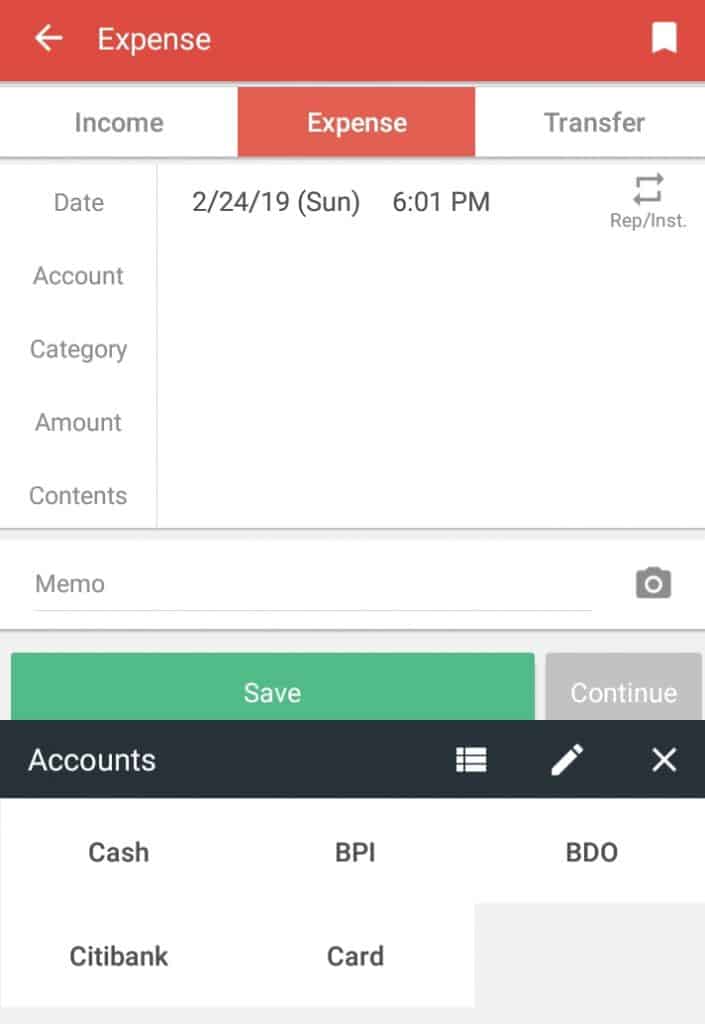
2. Once the default Trans menu is displayed, click the + icon. It is located in the lower-right portion of the screen (see above image). This will open the Add Expense tab by default (see the image below). In the Date field, the current date and time values are automatically displayed. You can modify the date and time by tapping them. A calendar or a clock interface will be displayed.
The Account field is active by default. The available accounts are automatically displayed. In the screenshot below, we have Cash, BPI, BDO, Citibank, and Card.
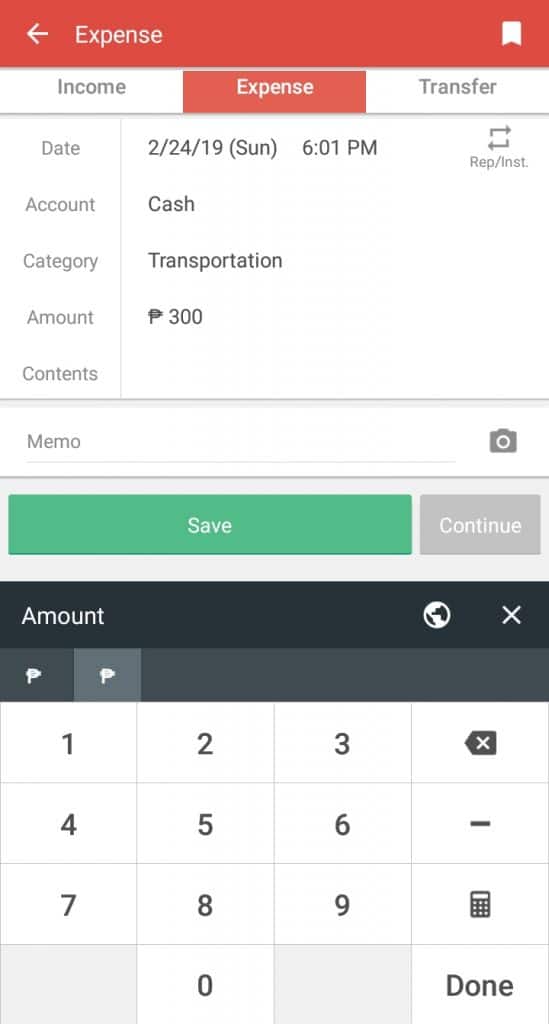
3. Select an account (e.g. Cash). The Category field will become active and the different categories will be displayed. Examples in the screenshot below are Food, Transportation, Education, etc.
4. Select a category (e.g. Transportation). This will activate the Amount field and display the numeric pad.

5. Enter an amount.
6. Optionally, you can enter text in Contents field.

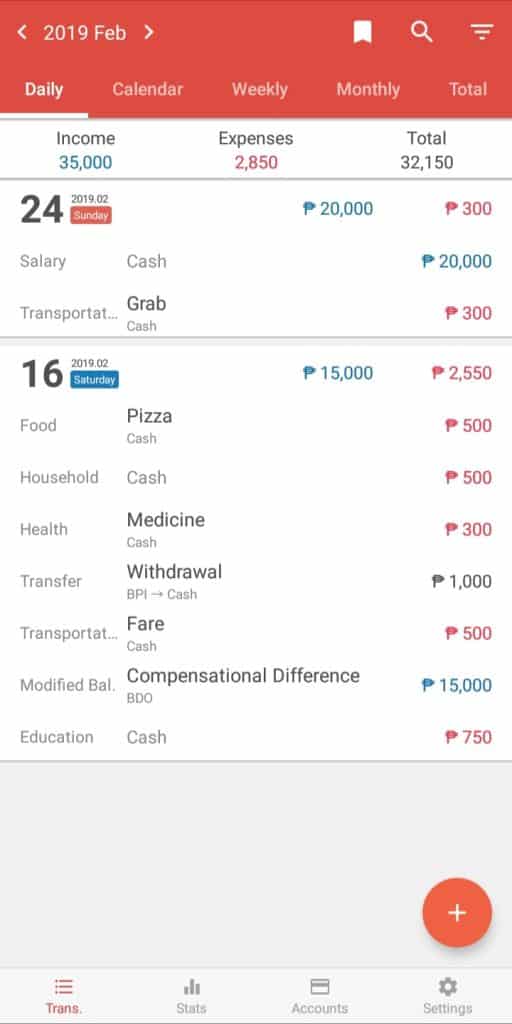
7. Click Save. This will save the transaction and display again the Trans menu > Daily tab. By default, the transaction is displayed as the latest entry. Red is the default font color for the expense amount.
How to add an income in Money Manager
Steps in adding an income:
1. Open Money Manager. Enter passcode if required.
2. Once the default Trans menu is displayed, click the + icon. This will open the Add Expense tab by default. Click the Income tab. In the Date field, the current date and time are automatically displayed. You can modify the date and time by tapping them. A calendar or a clock interface will be displayed.
Account field is active by default. The available accounts are automatically displayed.

3. Select an account (e.g. Cash). The Category field will become active and the different categories will be displayed.
4. Select a category (e.g. Salary). This will activate the Amount field and display the numeric pad.
5. Enter an amount.

6. Optionally, you can enter text in Contents field.
7. Click Save. This will save the transaction and display again the Trans menu > Daily tab. By default, the transaction is displayed as the latest entry. While the default font color for the expense amount is red, it’s blue for income.
Final thoughts
Doing the above steps every time an income or expense occurs will make the process faster. Buying an item from a bakery is an example. At first, you may finish saving the expense after the purchase is done. But when recording becomes a habit, you can save the transaction even before the cashier hands over your change if there is.


1 Response
[…] app or if you want to try a different one, Money Manager is a good choice. It’s easy to add transactions in Money Manager and these are integrated well with the whole app. The best part, you can install and use it for […]